
Introduction
If you love cheese with a mild, creamy, and slightly sweet flavor, then Colby Cheese Recipe is a must-try! Unlike cheddar, Colby is softer, moister, and more elastic, making it perfect for snacking, melting, or adding to sandwiches.
While you can easily buy Colby cheese at any grocery store, making it at home allows you to control the ingredients, flavors, and aging process. This guide will take you through everything you need to know about Colby cheese, from its origins to a step-by-step recipe that’s easy to follow.
What Is Colby Cheese Recipe?
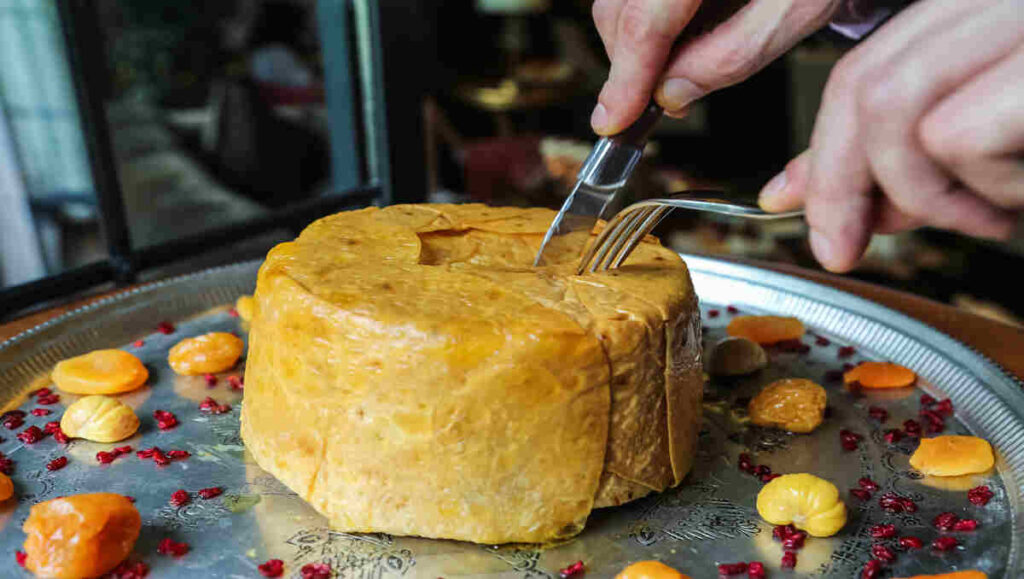
Colby Cheese Recipe is an American semi-hard cheese that is made using cow’s milk and has a mild, creamy texture with a slightly open structure. Unlike cheddar, which is aged for months and develops sharp flavors, Colby is moist and milder because it is not pressed as firmly and is aged for a shorter time.
Colby cheese is known for its beautiful orange color, which comes from annatto, a natural coloring derived from the seeds of the achiote tree.
Key Features of Colby Cheese
✔ Mild, slightly sweet flavor
✔ Soft, moist texture
✔ Yellow-orange color
✔ Great for melting and snacking
✔ Short aging process (only 4-6 weeks)
Origin of Colby Cheese Recipe
Colby cheese was first created in Colby, Wisconsin, in 1874 by a cheesemaker named Joseph Steinwand. He modified the traditional cheddar-making process to create a softer, milder cheese that became a favorite among Americans.
Today, Wisconsin remains the leading producer of Colby cheese, but it is also made in other dairy-rich states like California and New York.
Ingredients for Homemade Colby Cheese Recipe
To make Colby cheese at home, you will need:
Basic Ingredients:
- 2 gallons whole milk (preferably raw or pasteurized, non-homogenized)
- ¼ teaspoon mesophilic starter culture
- ½ teaspoon liquid rennet (diluted in ¼ cup water)
- 1 teaspoon cheese salt (non-iodized)
- ½ teaspoon annatto (optional, for color)
- Ice water (for washing the curds)
Equipment Needed
- Large stainless steel pot
- Thermometer
- Cheese knife (for cutting curds)
- Slotted spoon
- Cheese mold
- Cheese press
- Cheesecloth
- pH meter (optional but helpful)
Step-by-Step Preparation of Colby Cheese Recipe
Step 1: Heat the Milk
- Pour 2 gallons of milk into a large stainless steel pot.
- Heat slowly over low heat to 86°F (30°C), stirring gently.
Step 2: Add the Starter Culture
- Sprinkle mesophilic starter culture over the warm milk and let it sit for 2 minutes.
- Stir gently to mix the culture into the milk.
- Cover and allow the milk to culture for 45 minutes.
Step 3: Add Annatto and Rennet
- If using annatto, add it now and mix well.
- Add the diluted rennet and stir in an up-and-down motion for 30 seconds.
- Cover and let the milk sit undisturbed for 45 minutes, until it forms a firm curd.
Step 4: Cut the Curds
- Using a long knife, cut the curds into ½-inch cubes.
- Let the curds rest for 5 minutes.
Step 5: Cook the Curds
- Slowly heat the curds to 104°F (40°C) over 30 minutes, stirring gently.
- Continue stirring for another 15 minutes, until the curds firm up.
Step 6: Wash the Curds
- Drain ⅓ of the whey from the pot.
- Add an equal amount of cold water (60°F / 15°C) to the pot to cool the curds.
- Stir gently for 10 minutes to achieve the classic moist texture of Colby cheese.
Step 7: Drain and Salt the Curds
- Drain the remaining whey.
- Sprinkle cheese salt over the curds and mix well.
Step 8: Press the Cheese
- Transfer the curds into a cheese mold lined with cheesecloth.
- Press at 20 pounds of pressure for 20 minutes.
- Increase to 40 pounds of pressure for 12 hours.
Step 9: Air-Dry and Age the Cheese
- Remove the cheese from the press and air-dry for 2 days.
- Store in a cheese cave or refrigerator at 50°F (10°C) with 85% humidity.
- Age for 4 to 6 weeks for the best flavor.
Health Benefits of Colby Cheese
While cheese should be eaten in moderation, Colby cheese does offer some nutritional benefits:
✔ Rich in calcium and phosphorus – Supports bone health.
✔ Good source of protein – Helps muscle growth and repair.
✔ Contains probiotics – Supports gut health.
✔ Lower in fat than cheddar – A great option for cheese lovers looking for a mild alternative.
Best Ways to Serve Colby Cheese Recipe
Colby cheese is versatile and can be enjoyed in many ways:
✔ Melted in grilled cheese sandwiches
✔ Shredded over tacos and burgers
✔ Served with crackers and fruit
✔ Melted into mac and cheese
✔ Sliced for sandwiches and wraps
Nutritional Information
| Nutrient | Amount per 1 oz (28g) |
| Calories | 110 kcal |
| Protein | 6g |
| Fat | 9g |
| Saturated Fat | 5g |
| Calcium | 200mg |
| Sodium | 180mg |
Preparation and Cooking Time
- Prep Time: 30 minutes
- Curdling & Cooking Time: 2 hours
- Pressing Time: 12 hours
- Aging Time: 4-6 weeks
- Total Time: 4-6 weeks (including aging)
Conclusion
Colby Cheese Recipe is one of the easiest cheeses to make at home, and its mild, creamy texture makes it perfect for a variety of dishes. With just a few ingredients and some patience, you can create your own batch of fresh Colby cheese that tastes better than store-bought versions.
If you’re a cheese enthusiast, making Colby cheese is a fun and rewarding experience that allows you to experiment with flavors and textures.
FAQs
1. How long does Colby cheese last?
Properly aged and stored, Colby cheese can last 2-3 months in the fridge.
2. Can I make Colby cheese without a press?
Yes! You can use a heavy object like a pot filled with water to press the cheese.
3. Is Colby cheese the same as cheddar?
No, Colby is moister and milder because it undergoes a washing process that reduces acidity.
4. Can I use goat’s milk instead of cow’s milk?
Yes, but the texture and taste will be different—smoother and slightly tangy.